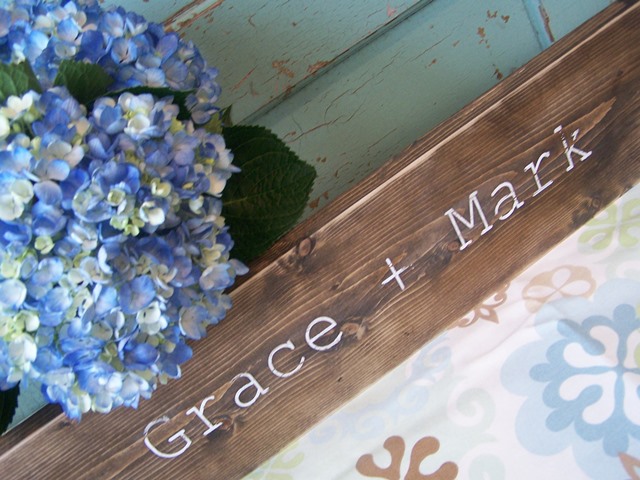
I spent many, many years planning fabulous weddings...and I gotta tell ya...I miss it (not the long hours...but everything else). Last year an amazing caterer I know asked me to make these rustic wood wedding signs for each of her couples. I love the idea and they are such an amazing wedding keepsake or unique part of the wedding decor.
Supplies
- 24" length of 1 x 6 pine (or your choice of wood. I use pine or white wood because it is cheap)
- Wood stain. I prefer to use cider vinegar wood stain. Of course you can select stain from the hardware or craft store. You just need one small can to make a sign.
- 2 - Paintbrush - I use whatever I have on hand. (1 for paint and 1 for stain)
- Paint. I use DecoArt Multi-Surface Satin (Cotton Ball)
- Stencils or create your own stencil on an electronic craft cutter. I use my Silhouette Cameo (affiliate link)
- Vinyl
- Transfer Tape
- Sand paper/sanding block. I use my Dremel.
- To Finish/Protect (affiliate links below)
Make It
- Cut boards into 24" lengths. You can change the length for different length/size names.
- Stain the wood. Protect your hands and work in a well-ventilated area. Wipe a coat of stain on the wood, and them wipe off excess. Repeat on both sides and edges.
- Let dry.
- Prepare your stencils. You can use store bought stencils, like these - affiliate link -
- DecoArt 6-Inch-by-18-Inch Stencil Home Decor Series, 3-Inch Simple Script Alphabet
- OR create your own stencil using an electronic craft cutter (Silhouette or like machine). I use a font I like, create the stencil on 24" length and cut using the "no mat" feature.
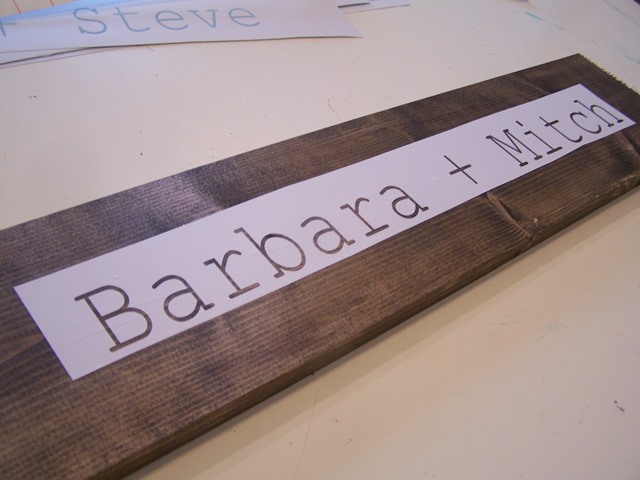
- Once the stencil is cut, remove the letters, leaving the large piece with the cutout letters on the vinyl backing (this is the stencil).
- Apply the transfer tape on top of the stencil.
- Rub to adhere.
- Peel the back off the vinyl.
- Place the stencil on the wood - center the names vertically and horizontally.
- TIP: I actually prefer to move my names up (horizontally) about 1/4" to 1/2" - it just balances better. Find the center and move the stencil just slightly.
- Rub the stencil onto the wood, and carefully remove the transfer tape.
- Paint the letters white (color of your choice).
- Apply a second coat of white once the first coat is almost dry. Let dry.
- Once dry (I like to allow about 24 hours for it to really cure), come back and sand the entire board:
- Sand the corners to round them a bit.
- Sand all edges for a distressed look.
- Sand the back and sides as necessary to remove any shapr edges or "splinters" from cutting.
- Lightly sand all over the top, including over the names - you can add a bit of more aggressive sanding for a more distressed look.
- Wipe the boards clean.
- Either spray (outside with protection) the board with Deft Spray or wipe on the Creme Wax and wipe off.
- Let dry.
Now you have a great gift or a fabulous wedding accessory that look amazing on a guestbook table, dessert table, the bar, or even for an engagement photo.
What your favorite wedding decor idea?


What font did you use?
ReplyDeleteHi Melissa! Your comment has a "no reply blogger" email and I couldn't find an email on your profile...so I hope you see this! I used Courier New for this sign.
Delete