This Painted Fall Burlap banner was created as a sponsored post for DecoArt
I was holding out to post anything Fall or pumpkin-y until September...I made it!
I do not do a whole lot of seasonal decorating...
but banners, those are easy to swap out and store!
I decided to start off Fall with my latest banner.
Seriously I am turning into the banner lady -
but people keep asking for them and I keep making them..so there ya have it.
Now on to the banner! This banner begins like my "We Love School" Banner but has so much more
to it. To me Fall is about texture, rich colors and a feeling or warmth.
I think through the use of layers of paint and pattern and the texture
of the burlap I have accomplished this feeling in this banner.
Now let's talk paint, because it is the star of this banner!
Imagine a paint that can perform on almost any surface?!
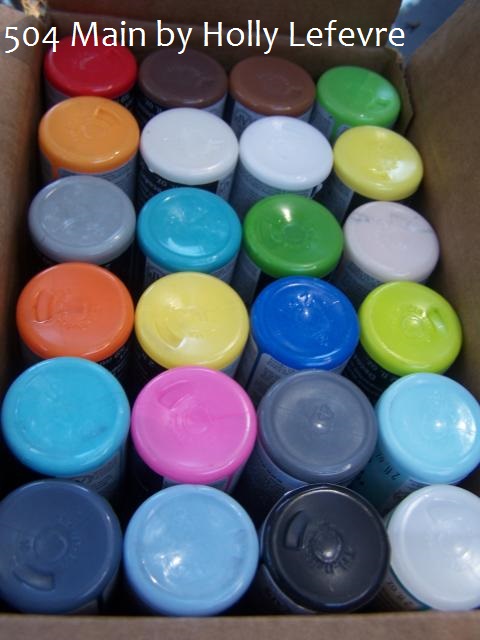
DecoArt has launched their new Americana Multi-Surface Satins that can do just that! Americana Multi-Surface Satins are available for purchase
at Michaels, A.C. Moore, Hobby Lobby, and other fine craft retailers.
I have tried them on metal, glass, and wood
(I will share those ideas with you later) but for today,
I have a
painted burlap banner perfect for Fall the share with you!
SUPPLIES
- 6 Banner/Flag shapes (cut in Burlap)
- Burlap (1/8 yard)
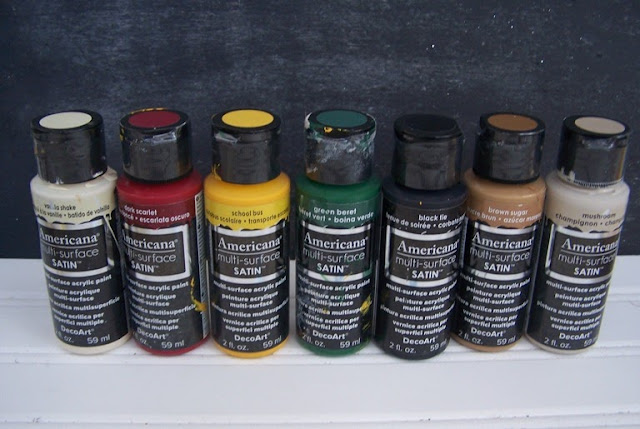
- DecoArt Americana Multi-Surface Satins:
- Vanilla Shake (Flag color)
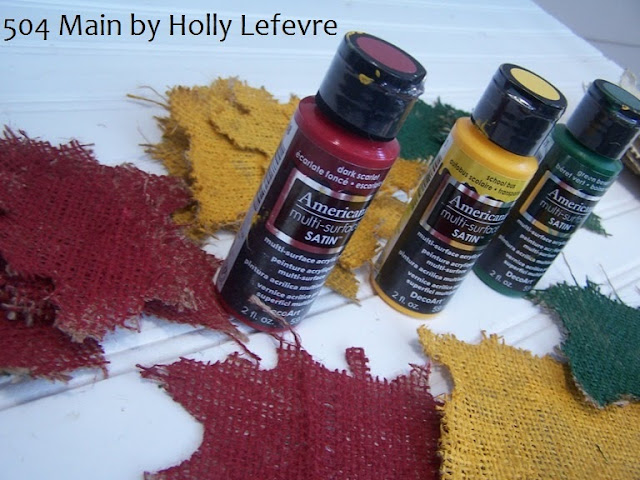
- Dark Scarlet (leaf)
- School Bus (leaf)
- Green Beret (leaf)
- Mushroom and Brown Sugar (mixed together for stencil)
- Black Tie (lettering)
- DecoArt 3" Simple Script Alphabet Stencil
- DecoArt Americana Mixed Media Stencil, Retro Mod
- Thick Jute (canvas corp)
- Painters Tape
- Paint Brush(es) - cheap ones
- Pouncers (stencil)
- Ruler Scissors
- Leaf shape (similar to the ones here )
- Hot glue gun and glue sticks
Make the Banner Shapes
- Cut 6 banner flags out of burlap: (see pattern HERE) You may need to adjust this template to meet your size needs - Be sure to measure!!!! Or create your own template (I use cereal boxes for this)
- Create a rectangle 4" wide and 7" long. fold in half/designate the center. At the bottom center measure up 1 1/2" on the center line.
- Draw angled lines from each corner to this center point.
- Cover your surface with newspaper or another protective element. Painting burlap is messy and takes a lot of paint.
- NOTE: When you pain burlap there is a lot of applying/reapplying paint - I pounced over areas numerous times and when using the painted brush, rubbed and worked the paint into the burlap. You have to determine the amount of coverage you want as you make this.
- Use the paint brush and the Multi-Surface Satin Paint in Vanilla Shake to paint the flags. Let dry.
Stencil the Banner
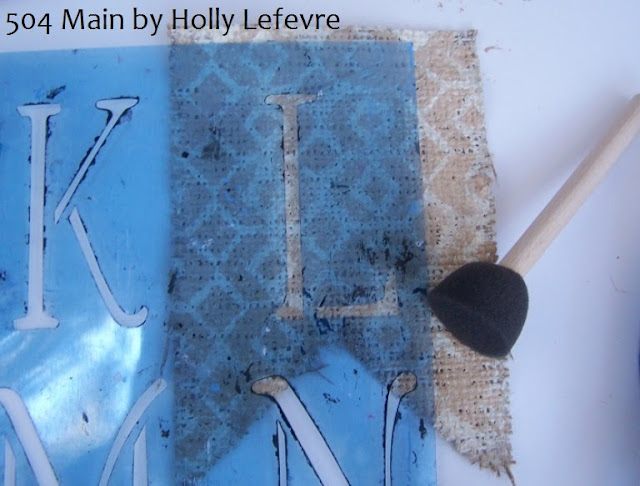
- Use the Retro Mod stencil (I used one of the 4 patterns on this stencil) to add a print to your burlap flags.
- Tape the stencil to your (protected) table.
- Slide the painted flag under the stencil.
- I mixed together mushroom and brown sugar to get the color I wanted (a muted color that would not fight the lettering, but compliment the flag color).
- The painted flags sometimes curl up, just hold the stencil down in sections and use a pouncer to paint the stencil onto the flag (you may have to really push down to get the paint into the texture of the burlap). Let dry.
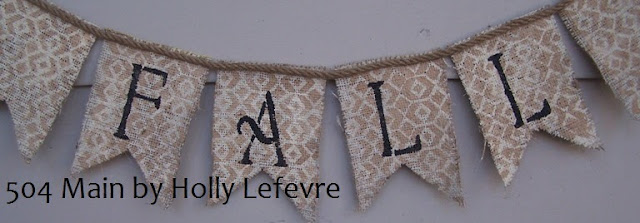
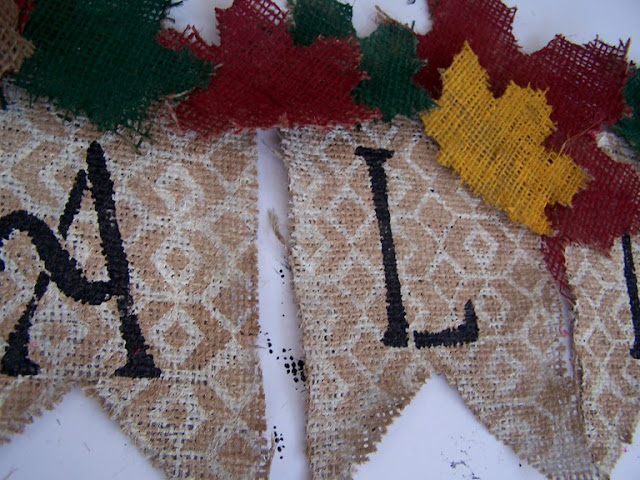
- Add the lettering of your choice (I used FALL) to the painted and stenciled flags. I simply centered the alphabet letters on each flag and used the pouncer to apply the paint, while holding the stencil down with my opposite hand.
Cut and Paint the Leaves
- I used a die cutter to cut my leaves, but refer to the link in the supply list for some free templates.
- If you use a die cutter, note this: At first, I cut my leaves and then painted them, but, later, painted the burlap and cut the shapes and noticed I got a sharper edge. Cut some medium-sized leaves (about 2 1/2"). I cut 2 of each color (yellow, red, stenciled, and plain burlap) and 4 green. Of course you can cut different amounts or more - my original plan had like 30 leaves! Let dry.
- Once dry, I thought the color looked really great - it was still vibrant and deep - which is hard to get on burlap. However, the flags of the banner were a bit more muted, so I lightly brushed/pounced some of the stencil paint mixture on the leaves - it really tied the banner together.
Assemble the Banner
- Lay the banner flags on a flat surface. The word FALL should be sandwiched between one plain stenciled flag on either side. I left only about 1/2" between my flags.
- Cut approx. 2 yards of thick jute.
- Leave about 20+ inches on either side of the banner.
- Use the hot glue gun and run a thin line of hot glue at the top edge of the flags. Lay the jute right on top of the hot glue line.
Finish It!
- Cut 5 6" length of Jute.
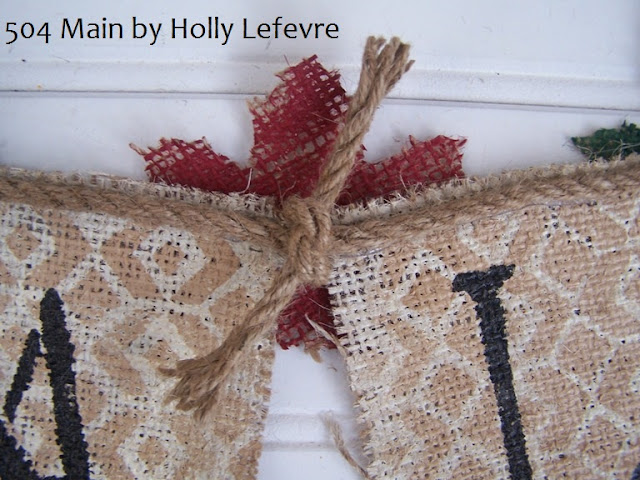
- Between each letter, tie a piece of jute and then unravel the ends.
- BEHIND the jute and between the letters, glue one leaf (between each letter).
- On the outside flags (the ones without any letters), stack a combination of 4 leafs on top of each other. Glue in place.
It may sound like a lot of steps, but they are all pretty easy!
This banner goes together really quickly and
creates a beautiful addition to your Fall decor or mantel!
I thoroughly enjoyed working with the American Multi-Surface Satin Paint (LOVE the colors!) and the Mixed Media Stencils (LOVE the patterns!).
I cannot wait to show you my other ideas.
I also encourage you to check out the DecoArt Facebook page where they have
been sharing great projects using these paints all week long! Americana Multi-Surface Satins are available for purchase
at Michaels, A.C. Moore, Hobby Lobby, and other fine craft retailers. And there is even a rebate right now!






.jpg)
Holly, I love this banner. It's such a cute fall edition to your home and the leaves really add to it.
ReplyDeletexoxo
Denye
I already have the banner pieces so I'm going to do this, love the choice of stencil pattern for the banner!
ReplyDeleteDid you put anything on the edge of the burlap to keep it from fraying or will painting it help??
ReplyDeleteGreat project Holly! The stenciling looks perfect. I am so eager to try that America paint!
ReplyDeleteGreat project Holly! The stenciling looks perfect!!!
ReplyDeleteThis is so sweet Holly! I love the stenciling and the whole thing is just darling!
ReplyDelete