I am always looking for easy crafts that my daughter (and on occasion my son)
and I can do together. After making my bunny garland,
I have a new affection for ripping and cutting up simple cardboard boxes. For this
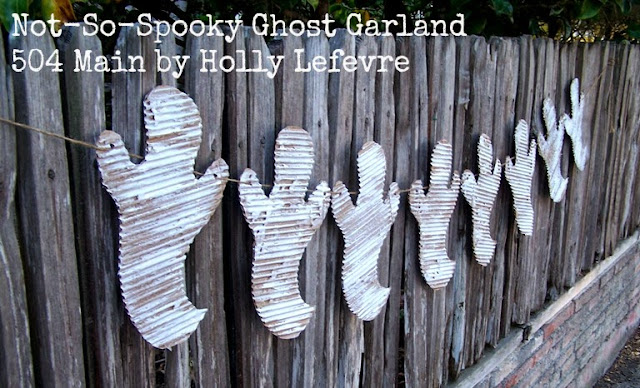
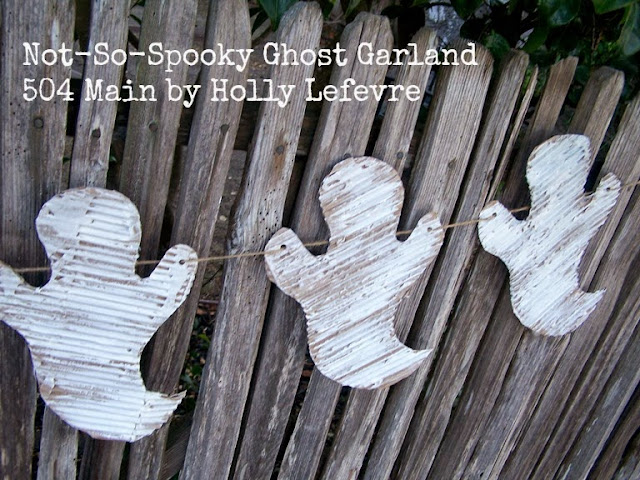
SUPER SIMPLE Not-So-Spooky GHOST GARLAND,
I added some white paint and strung them on twine...and I love them.
I have been making a ton of these ghosts so my daughter can create original works of ghostly art for just about everyone we know. I also kept quite a few simple for my own use. These are super cute on as a banner but also would work great alone,
hanging in a tree or bush.
You won't believe how easy this is to make!
(OK, maybe you will believe it!)
SUPER SIMPLE Not-So-Spooky GHOST GARLAND
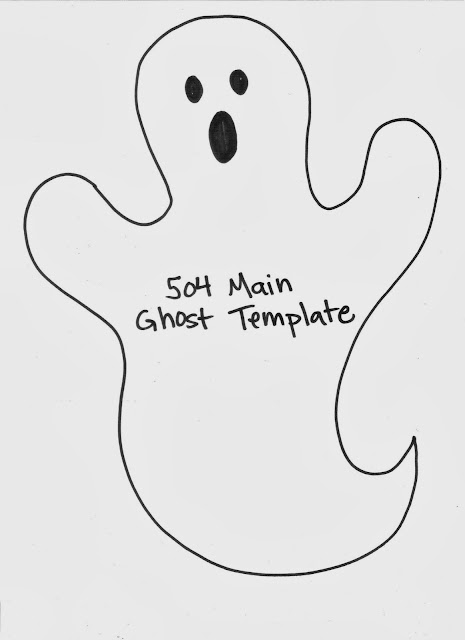
- Ghost template
- Cardboard box or fluted paper from a craft store. Canvas Corp makes a gorgeous fluted paper or paper of your choice.
- White paint, I used DecoArt Multi-Surface Satins in Cotton Ball (or white craft paint of your choice)
- Paint brush
- Hole punch
- Scissors
- Ribbon or twine
- Optional: Black paint or a Sharpie or a stamp pad (if you want to add a face)
Step 1:
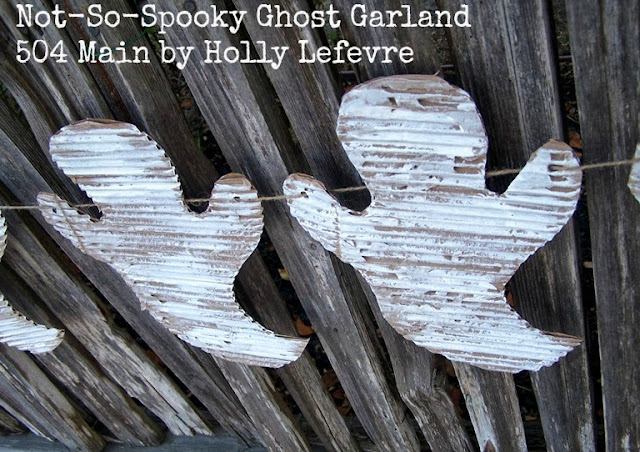
I personally like to use cardboard boxes - I rip the top layer of cardboard off to reveal the corrugated cardboard - I love the texture! So get ripping!
Step 2:
Print the ghost template and transfer to cardboard
HINT: I like to use cereal boxes to make my templates. We always have an empty box and they are sturdy and effective for tracing over and over.
Trace your ghosts onto the cardboard.
Step 3:
Cutout.
Paint each ghost white, using a brush and craft paint.
OPTIONAL: Make the ghosts eyes and mouth with a Sharpie, stamp pad or black paint
Step 4:
Punch a hole in each "hand"
Thread the ribbon or twine through the holes...hang it up and scare the kiddies! (Probably not - these ghosts are pretty cute!)
See...I told ya...super easy!
And totally cute!
Need some spooky inspiration...?
Go check out my spooky spaces mantel and DIY Tree Silhouette Art and
GRAB a 50% off coupon to Jo-Ann Fabric and Craft Stores!


What an inventive idea, Holly. I really like the texture added by the cardboard. :)
ReplyDeleteI love them Holly!
ReplyDeleteSusan
So cute, Holly, and easy to boot!
ReplyDeleteThese look so great. At first, I thought they were made out of metal but I was glad to realize it something I could make. I love that they can be made from materials you already have around the house. Thanks for sharing. I checked out your other Halloween crafts and I think they are all great. You must love this season!
ReplyDeleteI know this comment is after Halloween but I never knew, or thought about, separating the layers of cardboard... but I do now ;-) Cute garland!
ReplyDelete