I am proud to be a 3M- sponsored blogger, and, as part of my
responsibilities, I get the opportunity to evaluate new products from
Scotch Duct Tape. I love creating new projects and I hope you love this one.
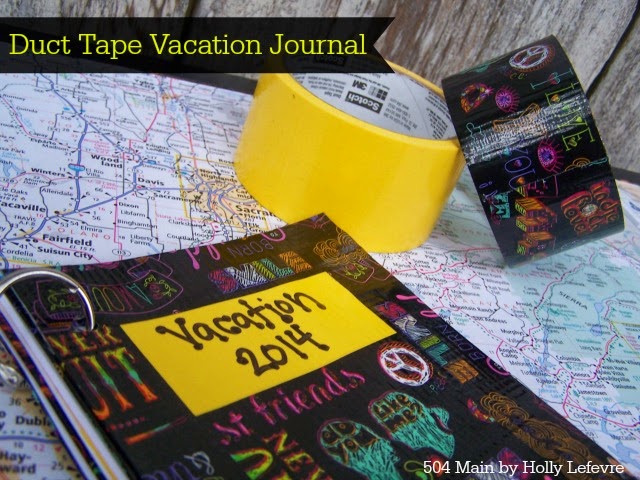
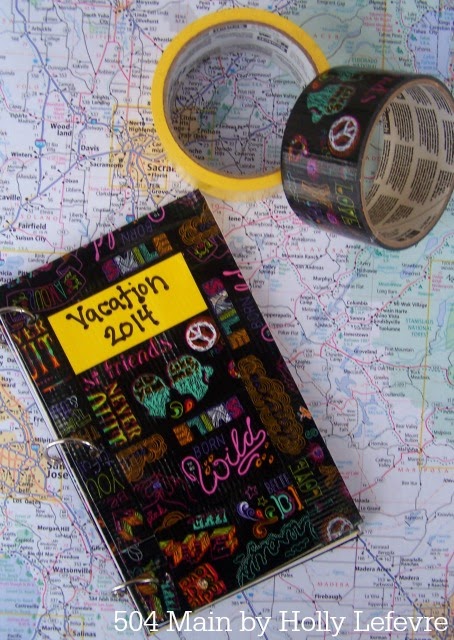
My family will be doing a lot of travel over the next few months.We are getting ready to move to Texas and making a lot of last minute sightseeing trips and visits to friends before we hit the road. And, I don't know about you, but my kids like to collect stuff when we travel. They save ticket stubs, magnets, brochures...and they LOVE maps. When we get home, what do I have left but a pile of stuff...but not anymore. I designed these super kid friendly and durable "Vacation Journals" for each kiddo to keep their "souvenirs" and information organized and in one place. And, oh yeah they work well for adults too!
I have really enjoyed working with Scotch® Duct Tape. I have been challenged to create cool projects and my kiddos have loved my creations as well. I knew Scotch Colors and Patterns Duct Tape was the right choice of materials for my Vacation Journals. They would be durable, sturdy, and of course I would have so many choices when it came to selecting which cool pattern I wanted to use!
These journals are pretty easy to make...
and before I was even done my daughter was trying to sneak it away.
So grab your favorite pattern and color of Scotch® Duct Tape and get crafting!
Supplies
- Scotch ® Duct Tape in Word Up and Sunshine Yellow
- 5 x 8 inch index cards
- 3 book rings
- Hole Punch
- Craft Knife/Scissors/Rotary Cutter
- Cutting Mat (optional)
- Ruler
- Plain paper or card stock (I used index cards)
- (Optional) Permanent Marker or Alphabet Stickers
- (Optional) Magnetic Sheet
Make It!
My book has a front and back cover, 3 pocket pages, 5 journal pages, and one magnetic sheet.
- Each side of a page requires 4 and 1/2 pieces of Duct Tape, 6" long (to be trimmed).
- Each side of the pocket requires 2 and 1/2 pieces of Duct Tape, 6" long (to be trimmed).
- To assemble you need 2 9" pieces of Duct Tape to finish the sides, and 1 6" piece to finish the bottom of the page.
- I used an index card because it kept my page size uniform without me having to measure each time.
- Prepare a template for the hole punches on the main pages and for the pocket. Make the large page template first: punch 3 holes - one inf the center (4"), and one on the top and one on the bottom, each ending 3/4" from the edge of the paper.
- Cut one index card to be 3 3/4" tall by 5 " wide. Use the Full Page template, lining it up with the pocket template at the bottom, and punch a hole.
NOTE on PUNCHING HOLES:
Punch your holes as you go along with EACH step. It seems repetitive but if you wait until the end to punch all of your holes (unless you have a super heavy duty hole punch), it will be too thick to punch a hole
To make the pocket:
- Cut 6 - 3 3/4" x 5" pieces of index card and punch a hole according to the template.
- Begin at the top:
- Use one strip of Sunshine Yellow Duct Tape and place the pocket so that the top of the pocket is at the center of the duct tape. Fold the duct tape over to the other side. This gives a nice clean edge on the top. Trim sides.
- Use a ruler and mark down 5/8" from the top of the pocket. Use this line as a guide to place your next piece of Word Up Duct Tape. Match up a second strip of Word Up.
- Trim the sides and punch a hole (see NOTE above)
- Flip over, mark your 5/8" line and repeat steps above.
- Make 6
Make the Large Page (5 strips total to cover one page)
- Begin at the top:
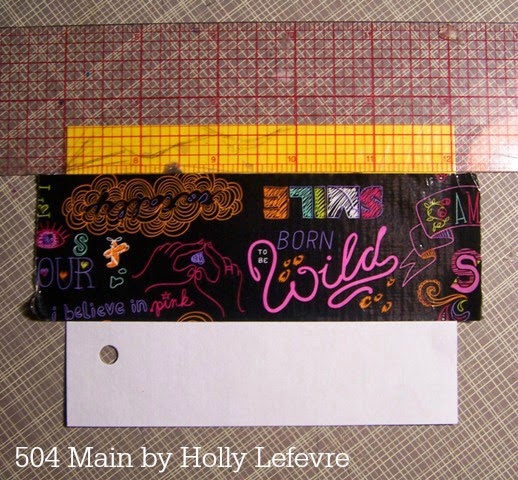
- Use one strip of Word Up Duct Tape and place the top of the page so that the top of the page is at the center of the duct tape. Fold the duct tape over to the other side. This gives a nice clean edge on the top. Trim sides.
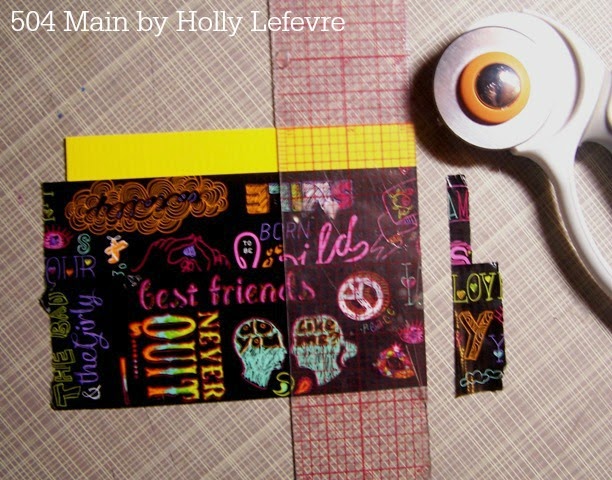
- Now, start at the bottom and lay 4 strips of Word Upon top of the index card.It should take 4 strips. Line each one up right next to the other.
- Trim sides.
- Punch holes using the template.
- Flip over.
- The top edge is already complete, begin at the bottom, lay your 4 strips of Word Up until you reach the top. Trim and punch holes
- Repeat the steps used in making the Page. I substituted one strip of Word Up for Sunshine Yellow at the top of my page so I could write on it with permanent marker.
Assemble the Pages:
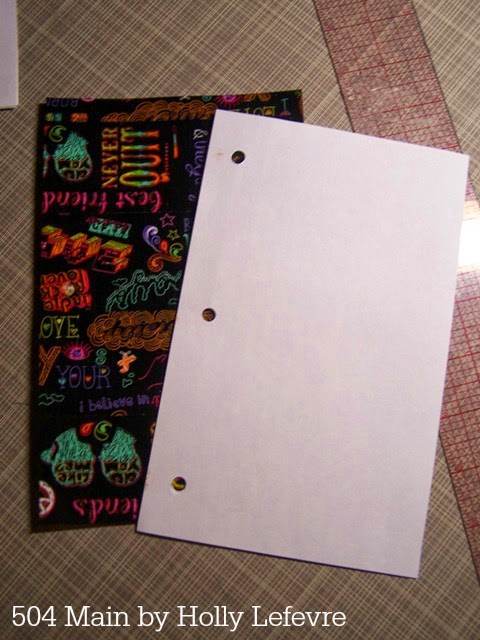
(I used plain white index card against red Duct Tape so you can see the detail)
- On each Page, place one pocket on each side (sandwiching the page between the pockets), secure with a paperclip along the bottom to hold in place.
- Lay a 9-10" strip of Word up on your work surface.
- Match up the edge of the (hole punched side) stacked large page with the center of the duct tape strip. Set in place and fold over the other half of the tape. Repeat this on the other side. Trim the top and bottom.
- Punch holes (see NOTE)
- Remove the paper clip.
- Use one 6" strip of Word Up and align the bottom of the stacked pages with the center of the piece of duct tape. Press in place and fold over to secure.
- Trim if necessary.
- Punch holes (see NOTE)
- Stack the pages up in the order you prefer.
- I used this configuration: cover, pocket page, 2 journal sheets, pocket page, 2 journal sheets, pocket page, magnetic sheet, back cover.
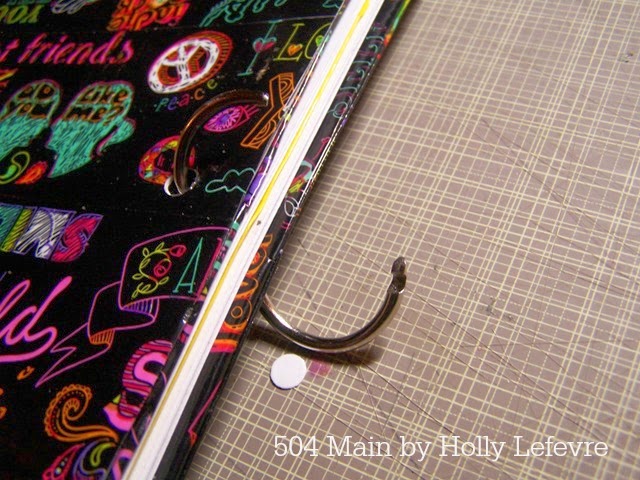
- Use the Book Rings to secure the pages together.
See...I told you...pretty easy and so fun...and useful!
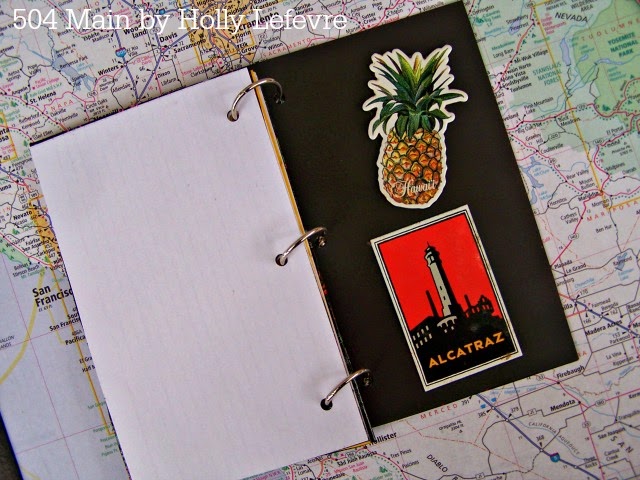
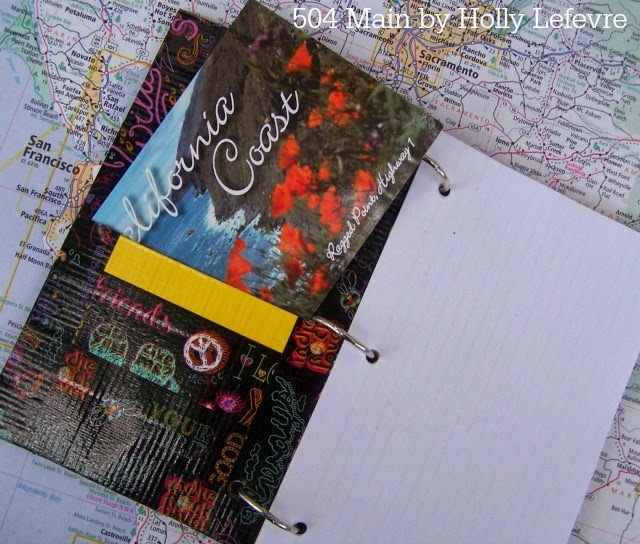
The pockets are roomy enough to hold multiple item including small souvenirs
(for example, like a small bag of sea glass)
Here are some ways to put it to use:
Stash ticket stubs
Collect magnets
Store postcards
Be inspired with more Scotch Duct tape creations!
Be sure to check out all Scotch® Duct Tape has to offer!











What a fun idea Holly. Duct tape certainly has so many uses.
ReplyDeleteThis is such a unique idea! Nicely done Holly!
ReplyDeleteThis is such a cute idea!!!
ReplyDeleteSo cute, and there are pockets too! Love that!
ReplyDeleteI love this journal, Holly ~ so colorful and the tape you chose is perfect for it.
ReplyDeleteThis is such a fun idea ... I want to do it for our road trip this summer.
ReplyDeleteGreat idea and tutorial! Love me some duct tape! They have the best patterns!
ReplyDeleteLove all the fun duct tape patterns available these days!
ReplyDeleteLove it, such a fun idea. My daughter would love one of these just to doodle in. She loves notebooks.
ReplyDeleteWhat a fun idea! I love how versatile duct tape is!
ReplyDeleteYou're a genius! SO much fun and so cute!!
ReplyDeleteThis is such a great idea Holly!! The "word up" gave me 80's flashbacks! Such a fun project and great tutorial!
ReplyDeleteThese are just adorable and a great way to accumulate all of the "stuff" they love to collect!
ReplyDeleteThese are so fun! I love Duct Tape!
ReplyDelete