I love hearts all year long (why confine them to February!?). I also love experimenting with my Evolution Die Cutter and combining it with cuttable metal sheets and embossing folders was a fun way to add a twist to a simple, rustic pallet. I adore the contrast of the shiny metal against the rough dark stained wood, and that touch of embossing makes it even extra special!
I made this fun pallet art piece to display at my favorite coffee shop! It totally rocked that coffee shops mantel! Now I have to make one for myself...and here is how you can too.
Supplies
- Evolution Die Cutter (or other manual die cutter)
- Material: Cuttable Metal sheets
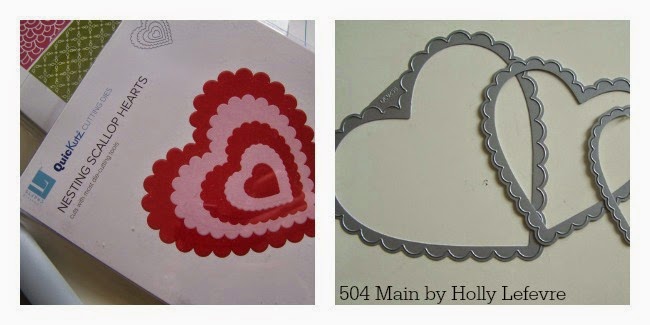
- Die: Nesting Dies - Scallop Heart
- Embossing Folder: Bloom
- Small (1/2") finishing or paneling nails and hammer
- Pallet: My pallet is about 3 feet tall x 2 feet wide with 2 braces on the back. I make my own pallets and I will share that with you in a few days...BUT these hearts can adorn just about anything!
- DIY Cider Vinegar Wood Stain and brush (for the pallet)
- Paint: optional (think about the cuteness of painted hearts!)
DIY IT!
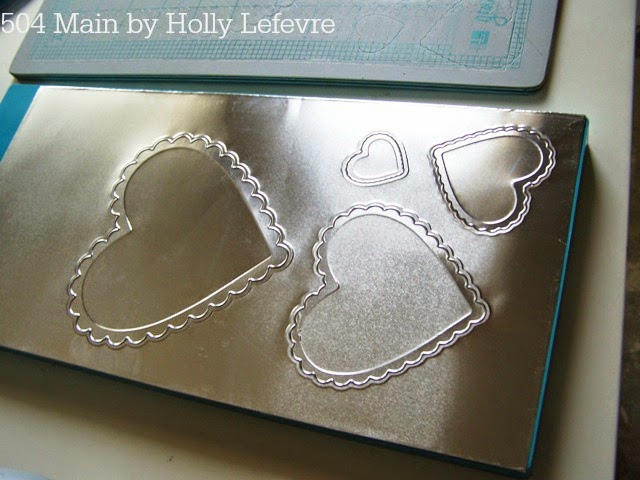
1. Place your heart dies on the Genius Platform (NOTE: if you are embossing the largest heart does not fit all the way into the embossing folder - this is step 4.)
2. Lay the metal sheet on top, and then the cutting mat
3. Run the platform through your Evolution Die Cutter
NOTE: I cut out my shapes first ...because if you emboss the metal first, when you run it through the die cutter again to cut, you lose a little of the embossing (it flattens out a bit).
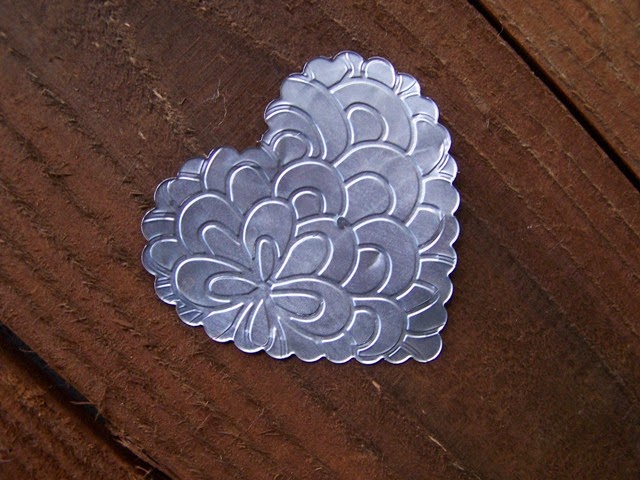
4. Next place the hearts in the embossing folder; place the folder on the platform and the mat (B) on top, and run it through the Evolution again. Repeat as necessary.
5. You now have some fabulous embossed metal hearts
6. Paint if you would like; let dry; (optional) give a light sanding to distress.
7. Stain/Paint the pallet using your choice of colors. I used DIY Apple Cider Vinegar Stain. Let dry.
8. Now all you have left to do it strategically place your hearts - well, there really is not strategy - just place they how you like - line 'em up, stagger them...just make it pretty! Attach each heart to the wood with a small finishing nail - I just hammered mine right in the middle - and you are done!
In the next couple of days, I will share my tutorial for making your own pallet - I did this along time ago too...but I have learned a thing or two since!
Until then...be inspired..head over to WeRMemoryKeepers to check out their amazing products and save 20% on your order by using the code 504MAIN


hats off to your artwork.
ReplyDeletetop rated photography colleges
What a great art piece, Holly! Those die cutters look like a really nice thing to have. Maybe, some day----. I hope you and your family are all doing well!
ReplyDelete