Paper crafting - making cards, marbling paper...and making paper - is one of the first types of crafts I remember doing as an "adult." When I start "playing" with my Evolution Die Cutter I get so excited...the possibilities are endless...and sometimes that sends me off on a tangent...and sometimes I never know where i will end up.
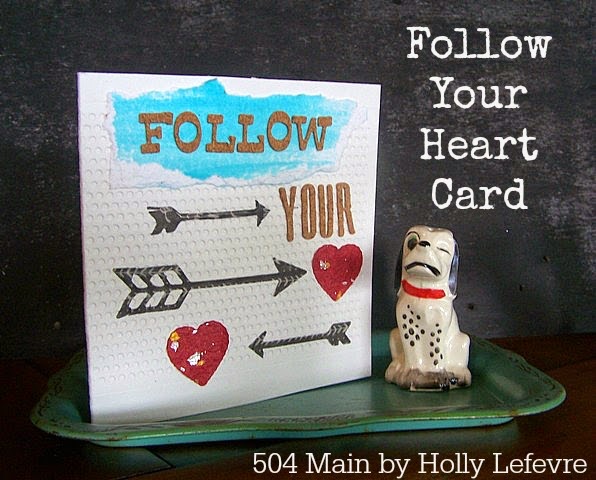
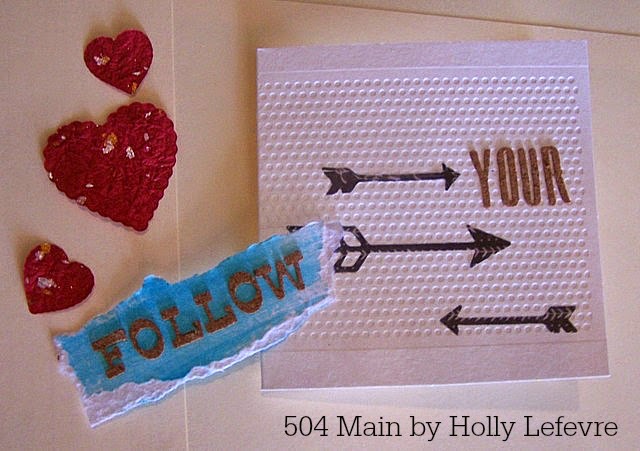
Bear with me on the tutorial. I had one (or ten) things in mind and then my hands took me some place else and this sweet little card was created. Can't you imagine this on a small block of wood or a canvas too? I kind of am in love with the colors and the arrows...and the hearts...and the polka dots!
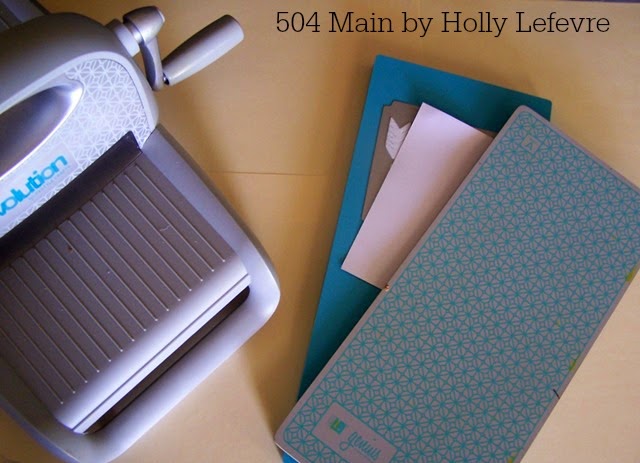
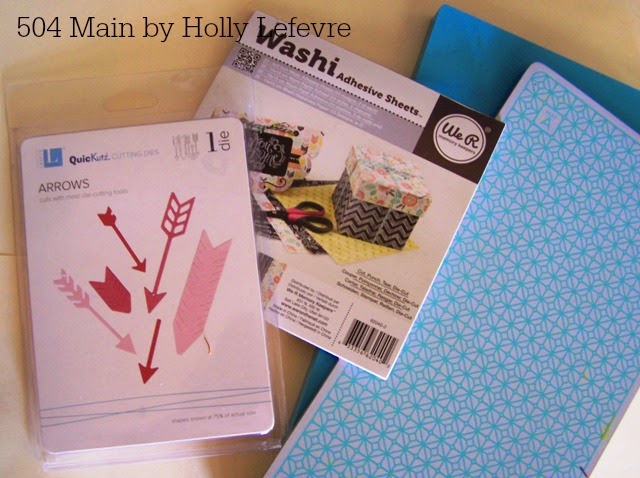
These are the exact products I used, you may be able to work with some things you already have! Of course I have a lot of We R Memory Keepers products because I love them and they truly are a preferred product in my craft room.
This is a fun project full of personality...
so have fun!
SUPPLIES
- Evolution Die Cutter and Genius Platform
- Arrow Shape Die
- Embossing Folder, Spotted (I used the small dots)
- Square Fold Cards
- Washi Adhesive Sheets
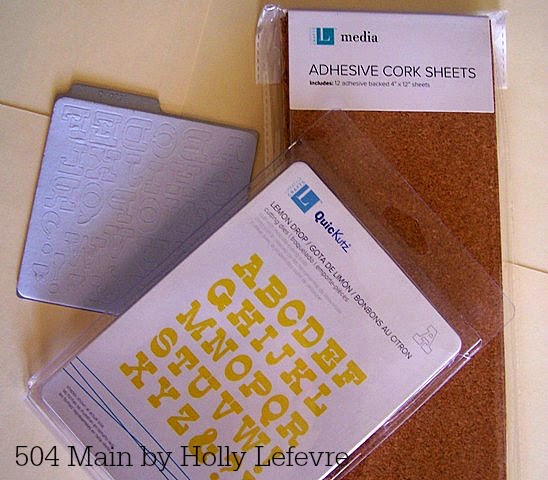
- Cork Adhesive sheets (12- 4" x 12" sheets per package)
- Adhesive (glue, etc.) of choice
- Red paper (or choice of color)
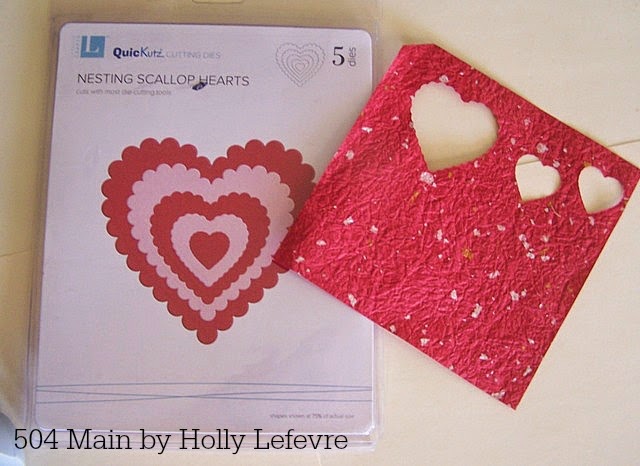
- Nesting Die Scallop Hearts
- Lemon Drop Alphabet die
- High Rise Alphabet Die
- Water colors and paper and brush or complimentary color of paper.
MAKE IT!
Step 1:
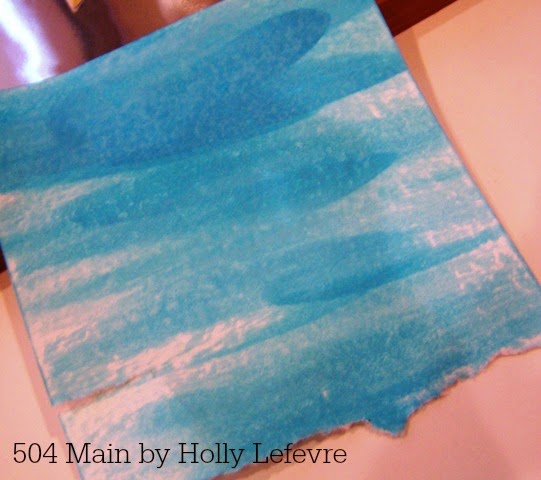
Paint on sheet of watercolor paper (or the card stock - I used a Lifestyle Crafts card - the same one I used in the finish product) with your choice of water color. Totally not rocket science just add water and paint - variation in color is good! Let it dry completely
OR use a pretty piece of paper you already have.
Step 2:
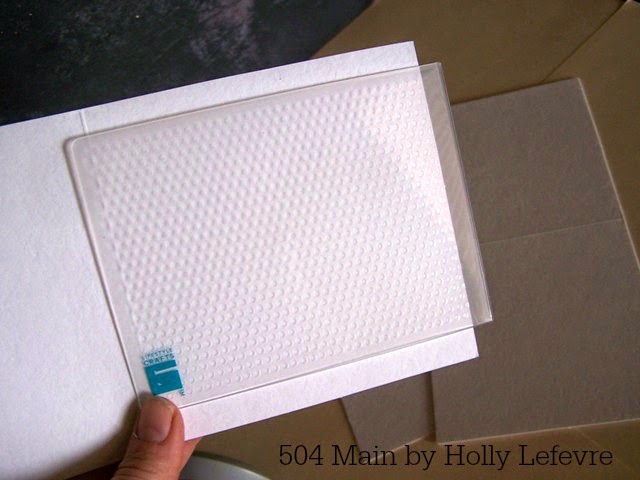
Place the front of the card into the folder and run the card through the Evolution using the platform and Mat B and embossing folder "spotted." I only embossed the front and if you notice the card is larger than the folder (on purpose for this project), just center is and leave flat space at the top and bottom.
Step 3:
In the Evolution (using Genius platform and Mat A), cut Arrows in your choice of Washi Adhesive Sheets. I used black with a white print for my arrows. Place the die on the platform, then the print face down on top of the die, and sandwich with Mat A. Run through the Evolution and set aside.
Step 4:
Cut 2 small scalloped hearts and one larger heart in red.
Step 5:
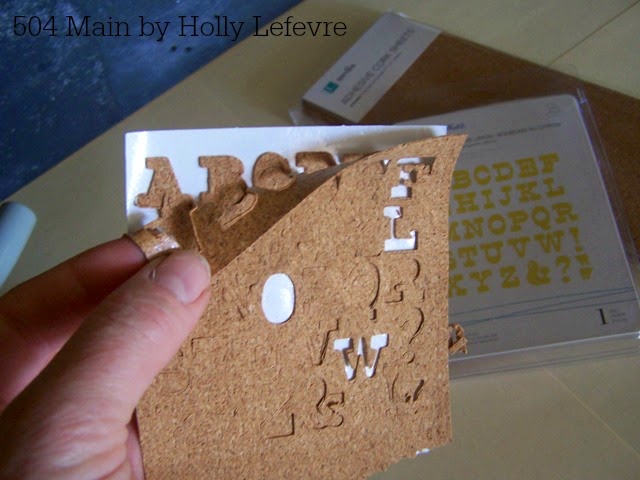
In the Evolution (using Genius platform and Mat A), cut Lemon Drop Alphabet in Cork Adhesive Sheets. I ran this through the Evolution at least twice for a really good, clean cut.
Step 6:
The cork is cut but sticks to the adhesive...leave it there until you are ready. The cork letters are a little fragile, but I am not a careful person, and I managed. Set aside.
Step 6:
Repeat the above step using High Rise Alphabet
Let's Assemble the Card!
- Tear (or cut if you wish) a rectangle from your watercolor paper.
- Position "FOLLOW" on the piece of paper.
- Place this at the top of your card and secure with adhesive.
- Place "YOUR" under the follow "banner" justified right.
- Place three of your arrows on the bottom portion of the card - they can be pointed any direction you would like.
- Position 2 of the smaller hearts of the front of the card.
- Inside the card, place on arrow and overlap a heart on top.
Isn't this fun and a little quirky? Just my style!
And I know just who to send this card to!
I kind of see a big ole sign or canvas in my future with this same motif!
I kind of see a big ole sign or canvas in my future with this same motif!
Do you make your own cards?
Be sure to head over to visit We R Memory Keepers at shopwer.com
and when you do, use the code 504MAIN to grab 20% off your purchase!





Adorbs!
ReplyDeleteThis really is a great design, Holly! I can see how this would be great for most any application, card or otherwise. You are so talented!
ReplyDelete