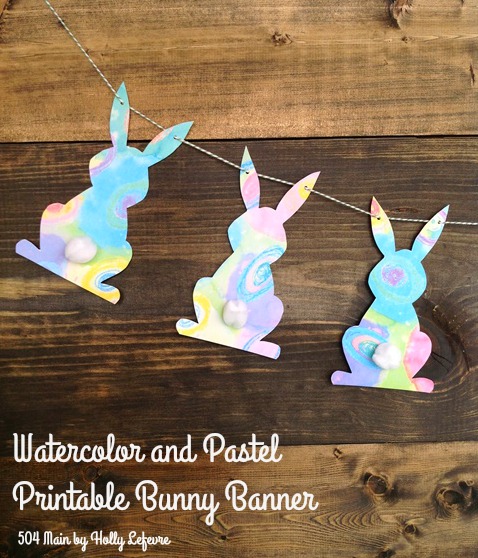
I used three different watercolor and pastel patterns for this bunny banner. I just could not decide on JUST ONE! Plus I really liked the subtle differences in each design. Of course you can do whatever the heck you want. I am including all three styles. This is a fun and easy project that can be done in minutes.
You can print them out by clicking the link above each photo. I used Microsoft Picture Manager to print mine out and selected 5x7 and fit to page to get 2 bunnies per page. Also...if you want to grab a PLAIN bunny template, you can grab that on the original bunny banner tutorial.
NOTE: the photos below are low resolution, click on the link to get the FREE download which is a high resolution and will print out so much better.
Printable Bunny 1
Printable Bunny 2
Printable Bunny 3
Supplies
- Templates/Printables (above)
- Printer and computer
- White card stock
- Scissors
- Hole punch
- Ribbon, bakers twine, string
Optional:
- White pom pom
- Glue
Make It!
- Print out the bunny or bunnies you prefer
- Cut them out with scissors.
- Punch one hole in each ear, about 1/2" down from the tip of the ear.
- Optional: If you are adding a bunny tail, do it now. Simply hot glue a white pom pom to the bunny.

- I played with the layout of the bunny patterns a bit before I strung them.
- String your ribbon/twine/string through the ears - be sure to leave some extra length on each end for hanging.
- All done!
Got cute little bunnies on the brain?
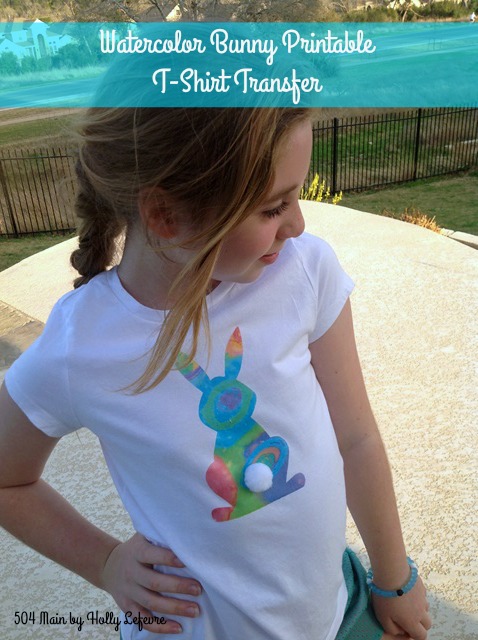
Here's a sweet Bunny T with a similar Watercolor Pastel Bunny
Try this adorable Painted Striped Bunny Shirt
or a super simple Easter Bunny Banner!


No comments:
Post a Comment
Thanks for stopping by and joining the conversation! I sure hope you come back for more!