This wreath is really simple to put together and I made it in about 15-20 minutes (I am apparently rockin' the 15 minute wreaths these days!).
There are so many other ways you can embellish this wreath too - skulls, spiders, sparkles. I just happen to be partial to the witch and leaves.
Let's Make It!
- Supplies (Most of the Halloween items are on sale!)
- 1 wreath form. I used a straw form and leave the plastic on.
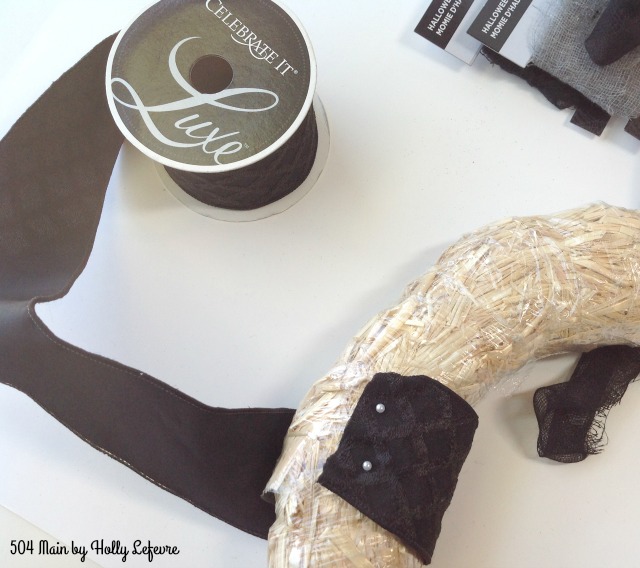
- About 5 yards of 2 1/2" ribbon. The ribbon I used is wire edged with a damask pattern but that is not necessary. I also purchased it from the clearance bin (But I must have liked it because I already owned some!). You can use any wide black ribbon.
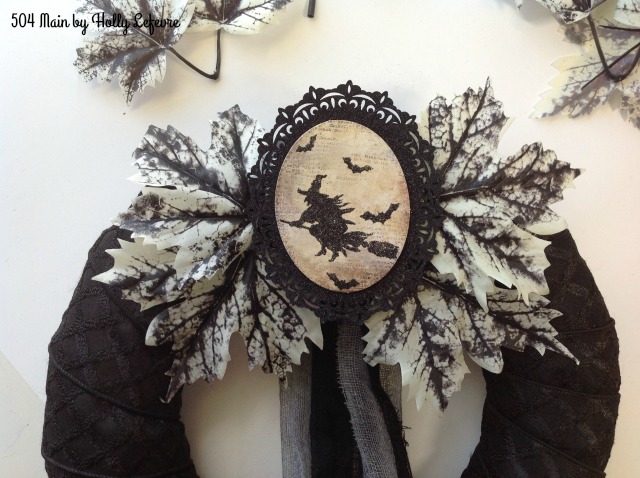
- Celebrate It Halloween decorations - I found these "medallions" in the Halloween section of Michaels. There was a witch, haunted house, skeleton, and owl. I purchased them all but used the witch.
- 1 bunch of leaves. These are black and white from the Halloween section and have all the leaves you need for this project.
- Halloween Gauze in black and grey, about 4 yards each color (1 package of each color)
- Straight or floral pins
- Hot glue/glue sticks
- Good scissors and/or wire cutters
Make It!
- Pin the end of the ribbon to the wreath. Pin it to what will become the back side, one pin on each edge.
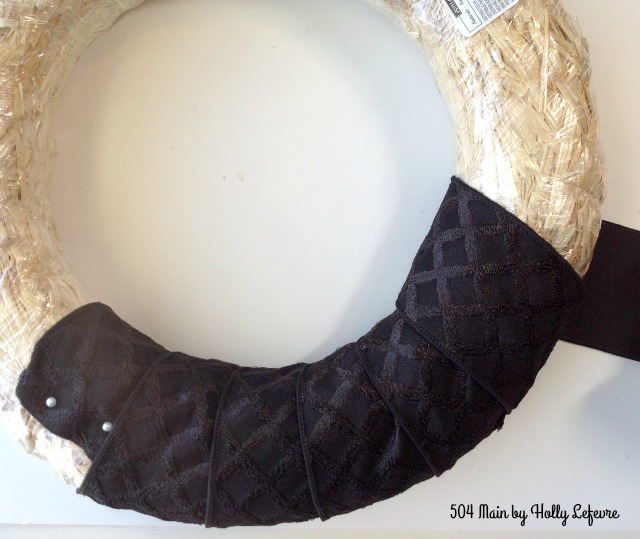
- Begin wrapping the ribbon around the wreath form, making sure to overlap the previous edge with the new wrapping.
- NOTE**If you run out of ribbon before finishing, fold over the existing edge and fold the edge of the new ribbon, overlap them on what will be the back side (the side you started on) and pin to the wreath form on each edge.
- When you reach your starting point, pin the ribbon to the form and cut.
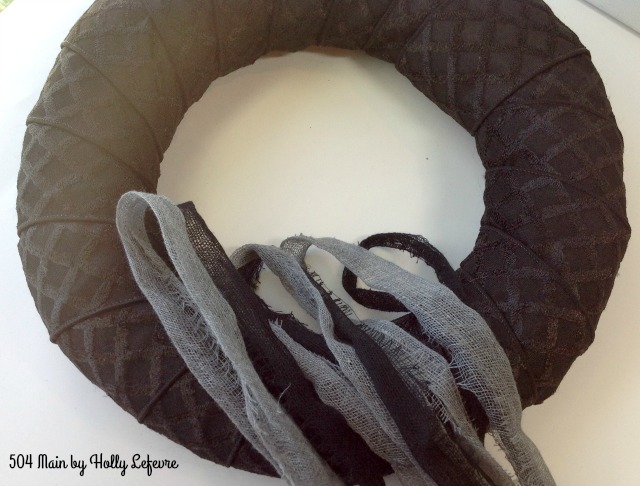
- Pair up the ends of the Halloween gauze. Loop it about 4 times (each loop is about 18-20" long).
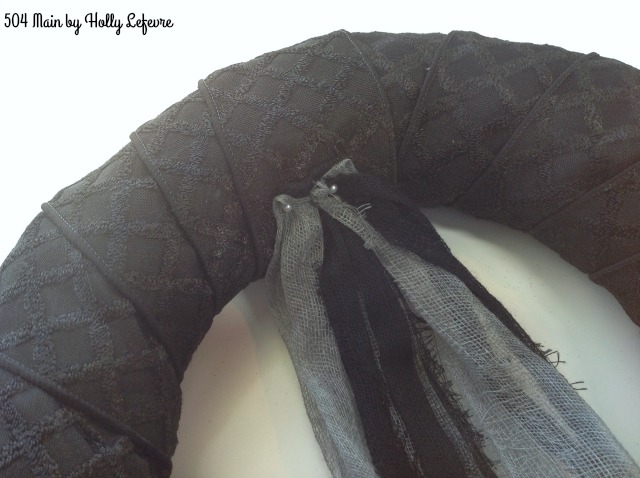
- At the center inside of the wreath, in the gauze to the form. I overlapped the blacks and greys for easier pinning. Let them hang for now (we will cut the bottom loops and trim the length later)
- Find where you want your center top to be (12 o'clock) and glue the medallion to it, Make sure you put the glue in the center of the medallion and than you glue into the center of the wreath.
- Pull off the leaves from the larger stem. Most of the leaves are in pairs. I tried to use them in pairs but found it easier to cut them apart (and the bottom of the stem) and position them where I wanted as singles.
- Place one larger leaf on each side of the medallion. Affix it by place a small dollop of hot glue on the end of the stem and pressing it under the medallion.
- Build your leafy layers according to your preference. I used about 8 leaves.
- Add another leave on top of what you just did.
- Glue one large leaf to the top center.
- Now fill in: I added on leaf between the original two and the top center and one more on the bottom. It is totally UP TO YOU!
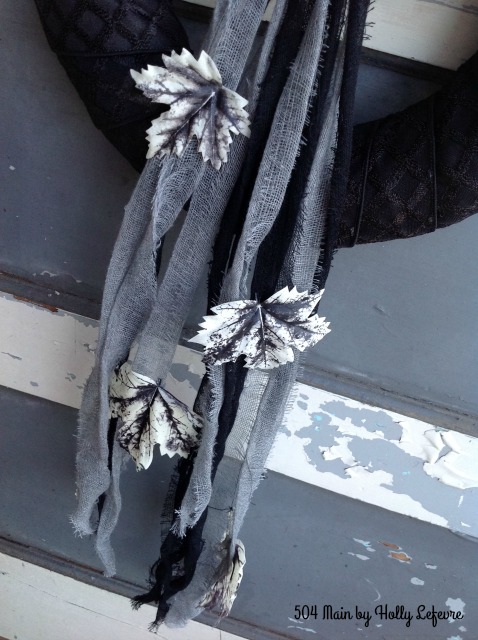
- Cut the end of the gauze where it it hanging (remember, we looped it). I like the different ragged lengths, but feel free to trim it if you do not.
- Cut the stem as close to the leave as possible. Place a dollop of glue at the base of the leave and press onto some of the hanging gauze ribbon.
- Add some leaves to the hanging gauze using hot glue.
And you are done! You want to know a secret? I had a vision of this in my head and it turned out totally different...but I LOVE IT even more!
Are you already decorated?








This is so beautiful. It's lovely with the fabric flowing down. I love it Holly
ReplyDelete