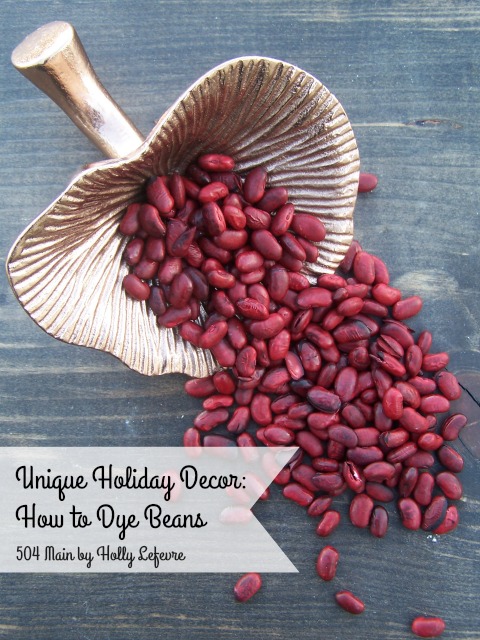
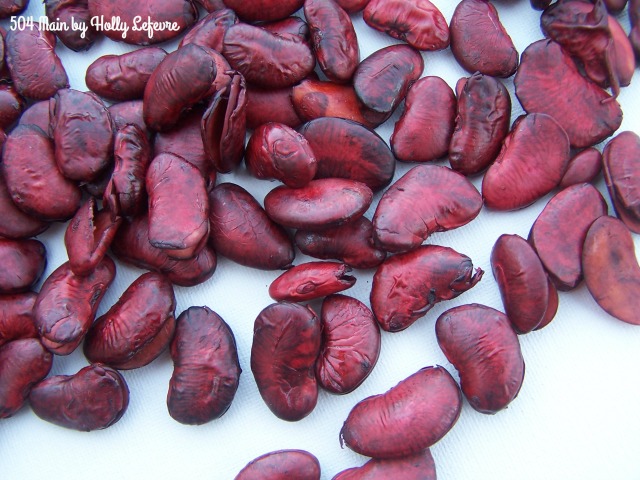
Once upon a time I dyed beans...and they looked so cool! It truly is one of my favorite DIY's every. As the beans absorbed the dye they puffed out, expanded and really turned out to look interesting and unusual. Well, this year I decided to try it again, using the color Marsala. The deep rich tones will also work well with my Christmas decor (bonus!). So go grab some beans and some dye and let's do this!
There are so many ways to decorate with dyed beans - place the in gorgeous glass jars, lay them on pretty platters and add some candles, surround vases or plants - the possibilities are immense!
Times a wastin', so lets just get right to it!
Supplies
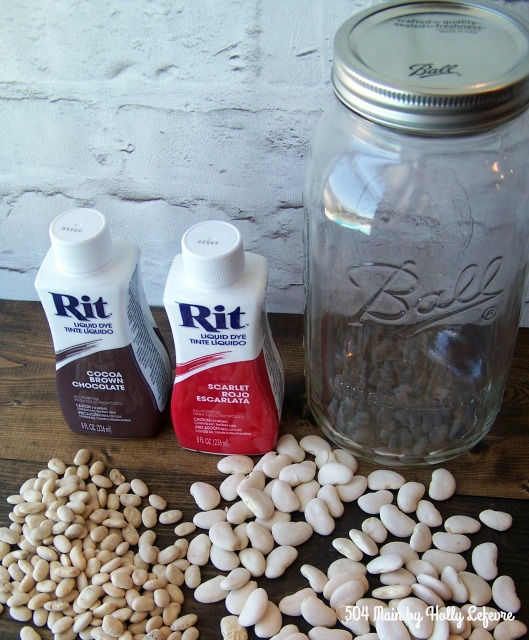
- Dried beans. I used Lima and Great Northern beans.
- Rit Dye (Liquid) in Scarlet and Cocoa Brown
- Water
- Jars, jugs, bowls or buckets that are waterproof and stain proof (or designated for DIY's). I used half gallon mason jars.
- Gloves and drop cloth/plastic/paper to cover your work area.
Make It!
- Cover your work area to protect it from any spills.
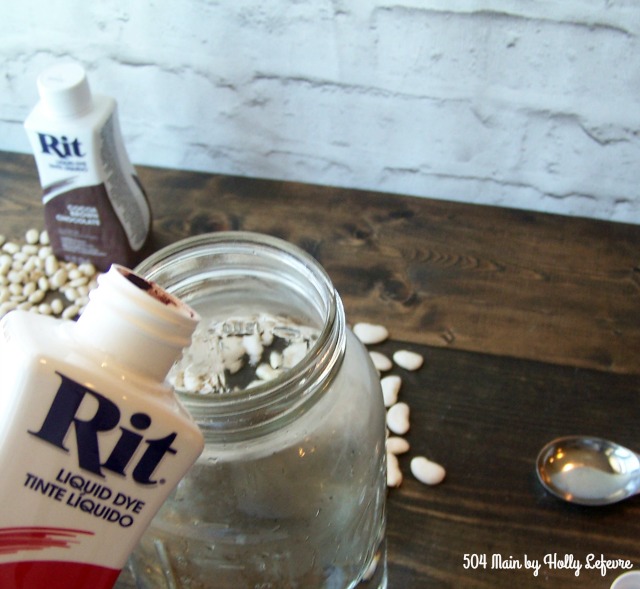
- In each jar, add 1 quart of warm water.
- Add 1 Tablespoon of Scarlet dye
- Add 1 Tablespoon of Cocoa Brown.
- Mix thoroughly.
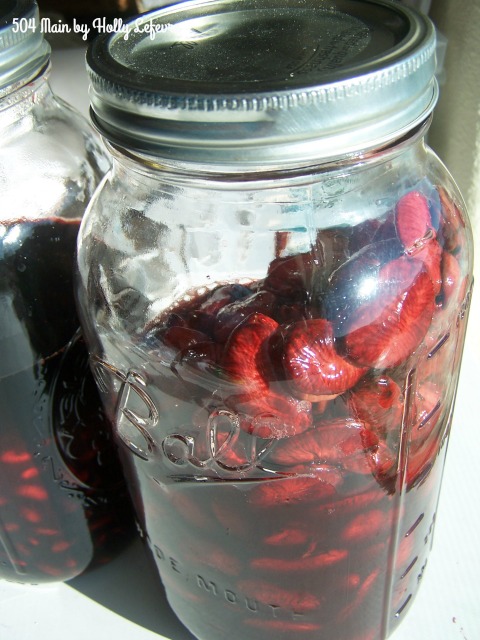
- Add half the bag of beans to each jar.
- NOTE: The jars are larger and I thought about adding more beans...but the beans take on the water and dye and expand, so they need to have room to do this. (excuse the awful photo - I just wanted you to see how the beans looked)
- Let sit a minimum of 5 hours to overnight. After about 5 hours, my beans had absorbed the dye and I could have taken them out, but I waited overnight.
- If you have not already, cover your work area. And wear gloves
- Rinse the beans. Be careful this is dye and it can stain certain tile, stone, and fabrics.
- Now, 2 weeks ago it was still 90 degrees here and the beans dried quickly, but not anymore...so place the beans, single layer, on a lined cookie sheet and bake for about 2+ hours on a baking sheet at 250.
- CHECK THEM OFTEN AND MOVE THEM AROUND.
- After removing the beans from the oven, I used an old towel (you can use paper towels too). I spread them on the towel to absorb any additional moisture.
- *If the beans are not dry, they can mold due to the moisture.
Let cool and get creative!
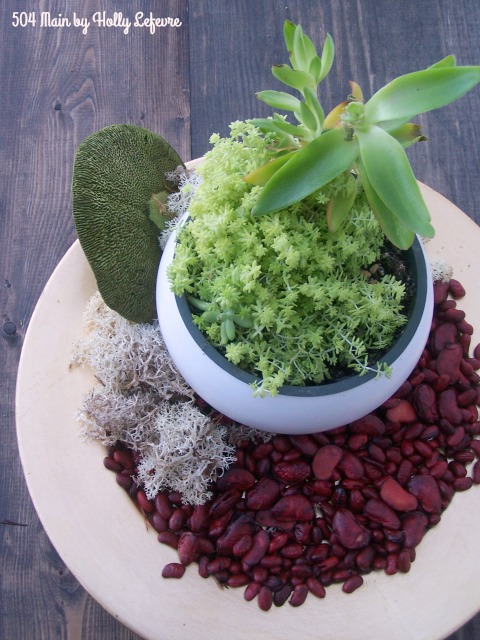
My final "look" involved a plant I purchased at the grocery store for $10, some light colored moss and a gold charger (from my wedding!). Usually I go a little crazy and keeping adding elements, but I kept with a more minimalist look (for me anyway) for the final centerpiece.
I place the plant to one side on the charger, added the moss around the back and side (asymmetrical) and then filled the charger with the beans.
I LOVE it!
Last year, I dyed them orange and I used them around the base of candles for our Thanksgiving centerpiece! I may do this again for another space in the house with my new beans!
So, what do you think about dyed beans? They are pretty aren't they?!




No comments:
Post a Comment
Thanks for stopping by and joining the conversation! I sure hope you come back for more!