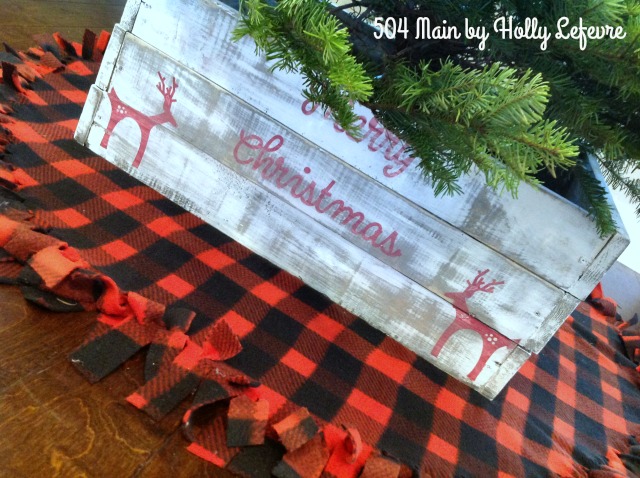
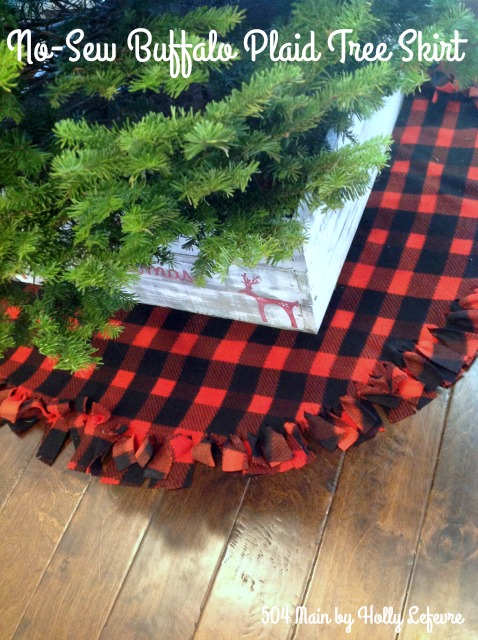
One of the easiest ways to change up the look of a Christmas tree is with a tree skirt. I have used tablecloths, blankets, ruffles, and yards of fabric. This year I wanted a new look...again. When I made my rustic scrap wood ornaments, I was inspired to try a more rough and rustic approach to my Christmas tree skirt and overall look. Well, and I just happen to LOVE buffalo plaid - any plaid actually. I surely wish I still had my double breasted royal blue and black buffalo plaid coat from Contempo Casuals!
I based this tree skirt on the idea of those no-sew fleece blankets. Of course I had never made one...but now I have...sort of! And in about one hour (not counting shopping time) you can make one too!
And doesn't it look amazing with my Christmas Tree Crate!
 Supplies
- 3 yards Fleece: Red and Black Buffalo Plaid (I specifically got mine from JoAnn)
- I am making my tree skirt about 51" in diameter.
- Scissors
- Pins
- Tape measure or string
Make It!
1. Fold the fabric in half (in most cases it is already in half)
2. Cut two lengths of fabric 51" long (keeping the fold)
3. Find the center (25 1/2") and use a string or a tape measure of that length to measure your circle.
- Hold one end of the string at the center point on the fold; start at the top (which should be 25 1/2") and move the string, marking with a pin every 6 inches or so; continue until you get to the other end.
- If you need to lightly draw the arc with chalk to outline the half circle.
4. Cut the circle
NOTE: I laid my two lengths of fabric on top of each other. It made each circle exact (but that is not crucial) and it made some of the cutting go quicker, but it is pretty thick to cut through - you gotta have good scissors and use your muscle!
5. Once the circles are cut, open them and lay them on top of each other. Its OK if they are not exactly the same, when you fringe, you can hardly tell.
- Now, make slits/cuts 3" up into the skirt/circle. Continue making cuts about every 1 1/4 to 1 1/2 inches all around the circles (both circles). You can measure to be exact. I did not - I just eyeballed it!
6. When you are done on the TOP circle ONLY, fold up each fringe and make a 1/2" slit in the center, where the fold is. Repeat this all around. I worked in about 18" sections - it just seemed to go faster that way, or at least I tell myself that!
7. Lay the fringe back down to match up to the bottom fringe. Take the bottom fringe and pull it through the slit on the top. Keep doing this until you finish and then...guess what...you have a super cute tree skirt!
9. Your fringe should look like this all around.
Looking for more rustic inspiration...here are some adorable ornaments!
Scrap Wood Ornaments
Scrap Wood Photo Ornaments
Joyous Ornament
Is your tree up and ready to go? If so, this is an easy add on. Just cut a slit up on side and slide it over! The fleece is a great fabric for this.


No comments:
Post a Comment
Thanks for stopping by and joining the conversation! I sure hope you come back for more!