Rustic and Rusty DIY Christmas Ornaments
I think I have 27 boxes of Christmas ornaments in my attic. I cannot help it...as the holidays approach, making Christmas ornaments is my FAVORITE thing to do by myself and with my kids! I dream of one day having 27 trees in my house (OK, maybe not 27) to accommodate all of these ornamnets...because I cannot bare to part with any of them. Each ornament reminds me of a special time with my kids, what type of crafting I was loving that year, or reflects a decorating style I like.
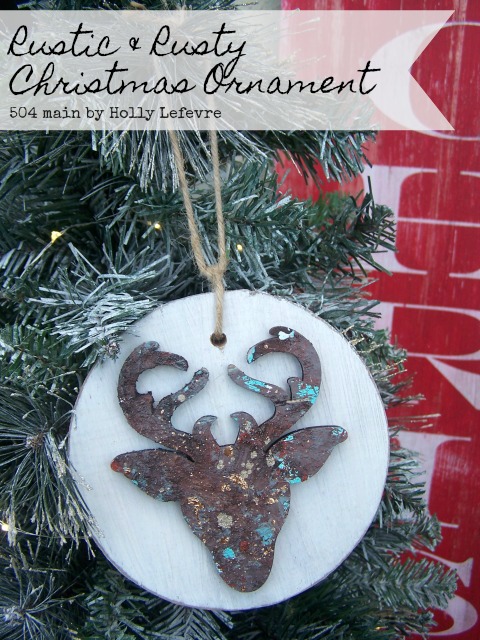
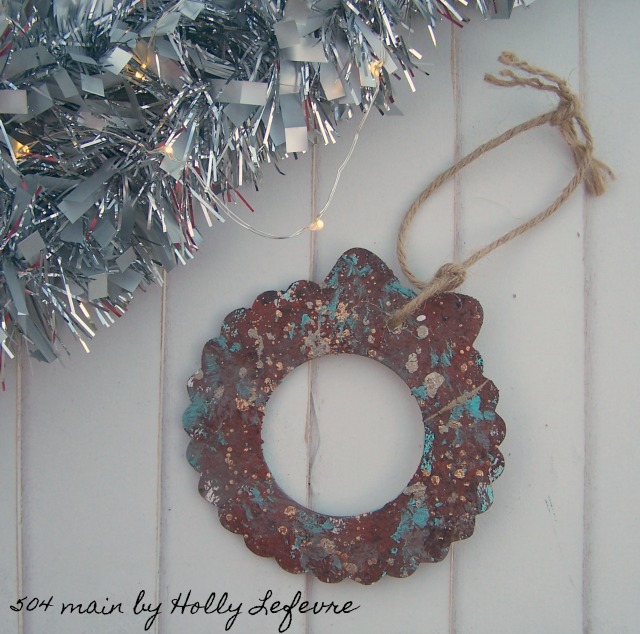
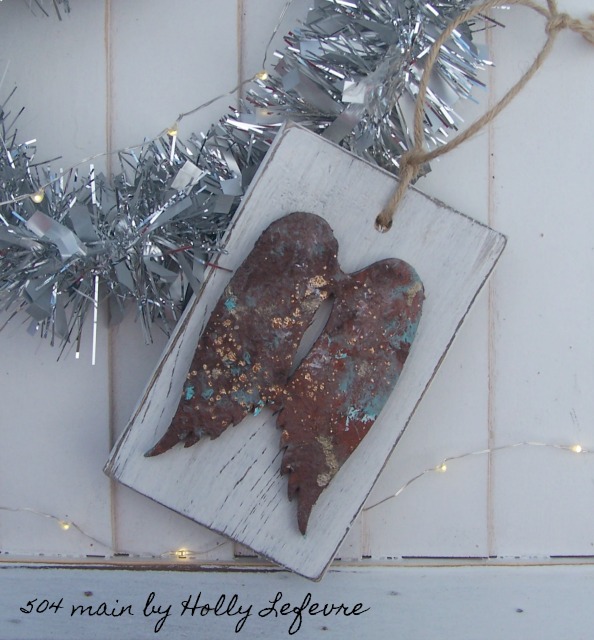
Funky, rusty ornaments are my thing this year. I have been using this same technique on some larger Texas shapes (made from wood) and people have been buying them like crazy! I thought this was a perfect application to mix with my past rustic wood ornaments and burlap banners on my tree...and they will look marvleous with my Buffalo Check Plaid tree skirt...I see this years "theme" emerging!
For the last few years, I have been lucky to participate in the 31 Days of Handmade Ornaments Party. I love seeing the creativity and uniqueness of the bloggers ornaments and it gets me ready and moving on making my own Christmas ornaments. This year I am day 16...so there are already 15 fab ornaments posted and 15 more to come!
Be sure to visit the Pinterest Board for more ideas and inspiration!
SUPPLIES
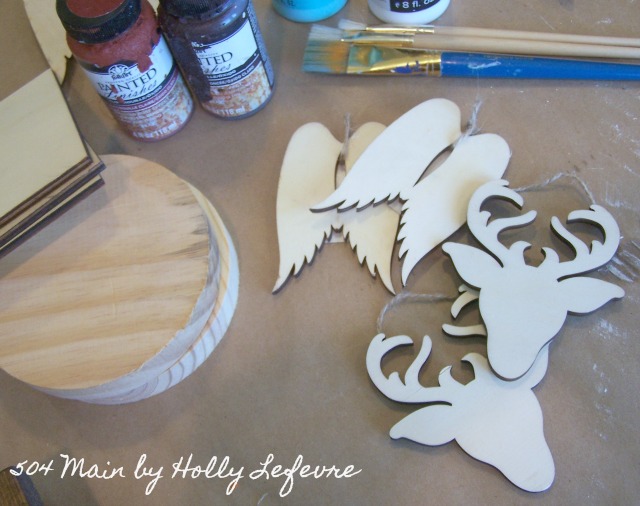
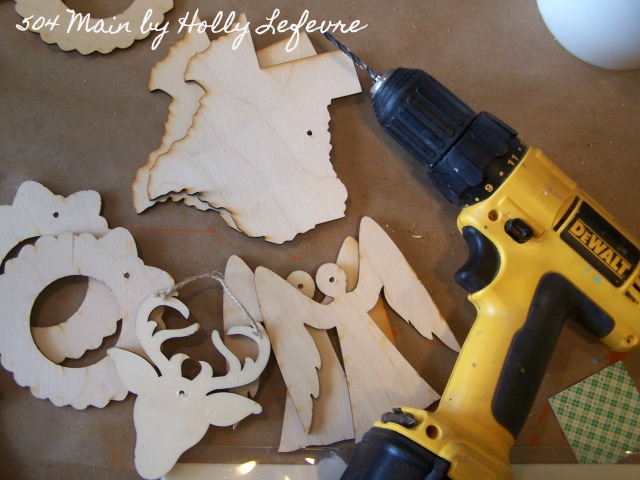
- Wood shapes. I have laser cut wood shapes for this project. Some were purchased online (Texas, angel, and wreath), some I had in my stash (plain stars), and the deer, ornate star, and angel wings were recently purchaded from Michaels
- Optional: Round or square wood scraps (see directions). I say optional becasue my intention was to use only the shapes for my ornaments, but then I attached a few to some shapes and fell in L-O-V-E.
- Twine (or ribbon)
- Newspaper/scrap paper/drop cloth to protect your work surface
- Paint brushes: The ones for the rust past can be old, icky, and cheap. For the paint you can use which type of brush you would like.
- Paint: I use an acrylic paint, white and bahama blue (DecoArt). You can use any colors you want, I just happen to like this combination
- Rust Paste: FolkArt Painted Finishes, Light Rust and Dark Rust
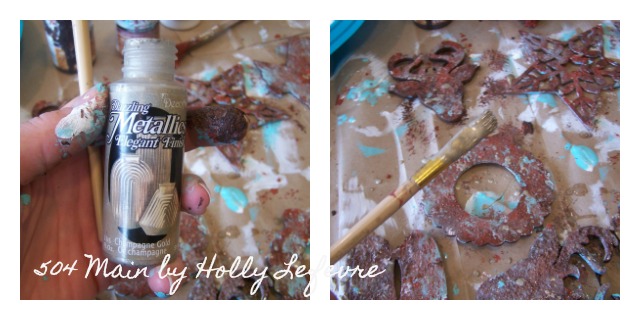
- Metallic paint: I use a metallic (DecoArt Dazzling Metallic - Champagne Gold) paint and a gold gilding (Martha Stewart)
- Glue, my choice E6000
MAKE IT!
1. Cover your work surface and wear gloves if desired.
2. Drill a hole in the wood shapes for hanging.
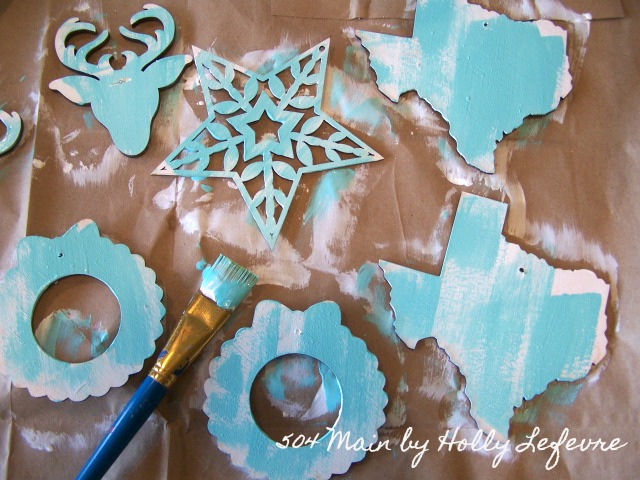
3. Paint each shape the base color, white, let dry. IT DOES NOT HAVE TO BE PERFECT.
4. Paint each shape the accent color (DecoArt, bahama blue) let dry. IT DOES NOT HAVE TO BE PERFECT, let the white show a little. Let dry for a few minutes.
5. Use the lighter rust past and one of the junky paint brushes and "pounce" the rust paste on the ornament. You do NOT need to cover the entire ornament...leave the base paint showing. This can get messy!
TIP:do not put too much Rust Paste on your brush. Play with it first on a scrap piece of wood, etc. to see how it applies.
5-A. And you may question whether or not I have lost my mind (I have lost my mind....but not about this!)
6. Use the darker rust past and one of the junky paint brushes and "pounce" the rust patste on the ornament. You wil be pouncing on top of the paint and the first rust paste color. You want them to mix and overlap.
7. Take another (old/junky) brush and pounce all over, essentially blending the rust pastes together and making seamless transitions with the base paints.
If you want, grab some of the base and accent colors on another brush and lightly dab on top to bring some more color forward. Let dry.
8. Here is another messy part - cover your work area - paint will be flying! Using the metallic paint, dip a paint brush, tap it off: Hold the brush horizontally with one hand and either flick the brush or aggressively tap the end of the brush (toward the bristles) with the other hand. You want splatter (think Jackson Pollock)
9. I repeat step 8 using the Martha Stewart Gold Gilding - it gives a really luxurious look.
10. Let the ornaments dry completley. Go to step 11 or is you like that mounted look....go to step 12
11. Thread a length (about 12") of twine/ribbon through the hole and tie at the top.
12. You can also mount the rust ornaments to a plain wood block (I have a ton of scraps from past projects) or to wood disks I found at Michaels. The round disks were about 99 cents! This photo was taken prior to finishing the shapes.
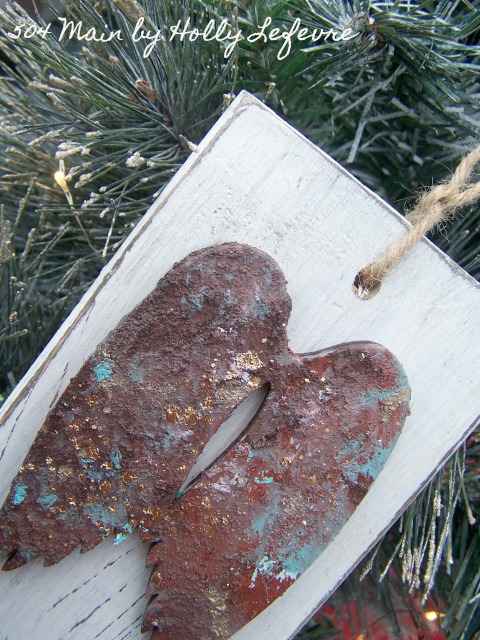
12-A. After I painted and rusted my shapes, I let them dry completely. Then is placed them on the wood shapes, which I painted white and sanded and drilled a hole in. I affixed the shapes to the wood blocks with E6000 glue.
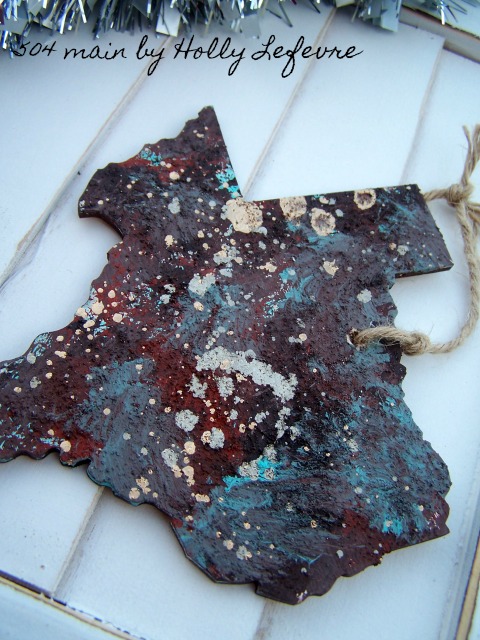
And there you have gorgeous faux finish rusty ornaments. I promise they look so good. At the last craft maketplace I sold at, people were amazing these were wood! And you can use all different shapes!
So, are you ready to make some
amazing handmade ornaments!?
Every year that I particpate in this ornament blog hop, I am more and more amazed and the unique ornaments. Be sure to check them all out.
Here are all 31 Bloggers in order of their appearance!
Will you be making Christmas Ornaments?
Which ones!?
Here are some more Christmas ideas from 504 Main!
No Sew Buffalo Plaid Tree Skirt and Christmas Tree Crate
Rustic Wood Scrap Ornaments
Joyous Ornaments
This post is written and created at 504 Main by Holly Lefevre
These blog posts - tutorials and recipes and advice - are meant for inspiration. You must always keep your own skill level in mind when attempting a project. You should take proper safety precautions and wear proper safety equipment. Undertaking a project with my tutorials, suggested products or tools is at your own risk.








I LOVE the rusted look of these ornaments. I think the star is my favorite. Pinned!
ReplyDeleteI love your rusty creations - they turned out so cute!
ReplyDeleteAmazing faux rust! I will totally copy this fab idea! Thanks so much for sharing! Susie from The Chelsea Projewct
ReplyDeleteSo cute...they actually look like rusted metal. Very, very cool!
ReplyDeleteThese are so cute. Thanks for the inspiration. I would love for you to stop by diyhshp.blogspot.com and link this up to my More the Merrier link party.
ReplyDeleteLove the fun pops of color, great diy ornament!
ReplyDeleteWow! Your technique really does look like rusted metal. These are unique and very pretty ornaments.
ReplyDeleteHow cool! I've never heard of that rust paste. Your ornaments really do look like rusted metal! Thanks for sharing a great idea!
ReplyDeletelove how you achieved the look with paint!
ReplyDeleteHolly these are absolutely fabulous! You just introduced me to new paints and techniques... so much fun ahead for me! My favorites are the angel wings and the star, but I love them all. I'm so happy you joined us again for another truly creative year.
ReplyDeleteHolly, these are amazing! I honestly thought they were rusted metal. You have inspired me. I am hoping to get the chance to make some of these for this year's tree. I love the rusty and rustic look as well. So happy to be partying with you again this year!
ReplyDeleteWhat a great paint technique Holly. I've pinned to my Handmade Christmas board... this will be so popular!
ReplyDeleteThis is REALLY cool Holly! I've not used rust paste before but now I feel inspired! Thank you so much for introducing me to this fun product!! Your ornaments are beautiful! Like you I have waaaayyyy to many ornaments that I can't seem to part with either. So fun to be on the tour together!! xoxo, Jennifer
ReplyDeleteWOW! These are beautiful! Thanks for sharing!
ReplyDeleteI love the rusted look of your ornaments. That star is my favorite! Thanks so much for the detailed tutorial, I can't wait to give this paint technique a try!
ReplyDeleteLove it... so fun and festive!
ReplyDeleteI love these rustic Christmas ornaments. So pretty!
ReplyDeleteThese are awesome! Love the finish you achieved.
ReplyDeleteI love this technique! I need to get some of that rust paste. It looks magical!
ReplyDelete